This is a new product from our client Rodi Foods! Is a new soft served cheese from sheep’s milk!
These are some backstage images from the studio setup and lighting.
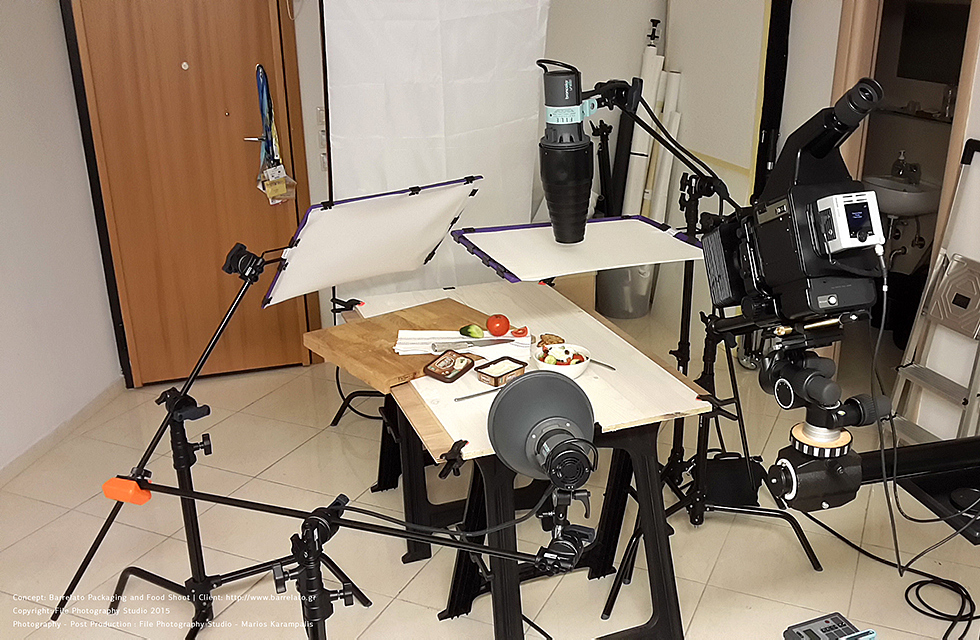

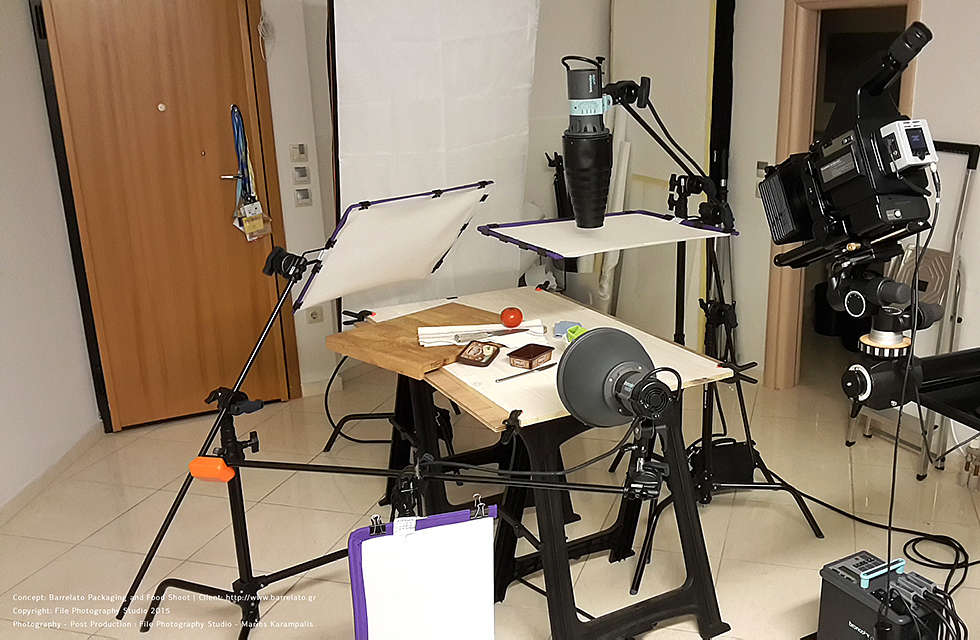
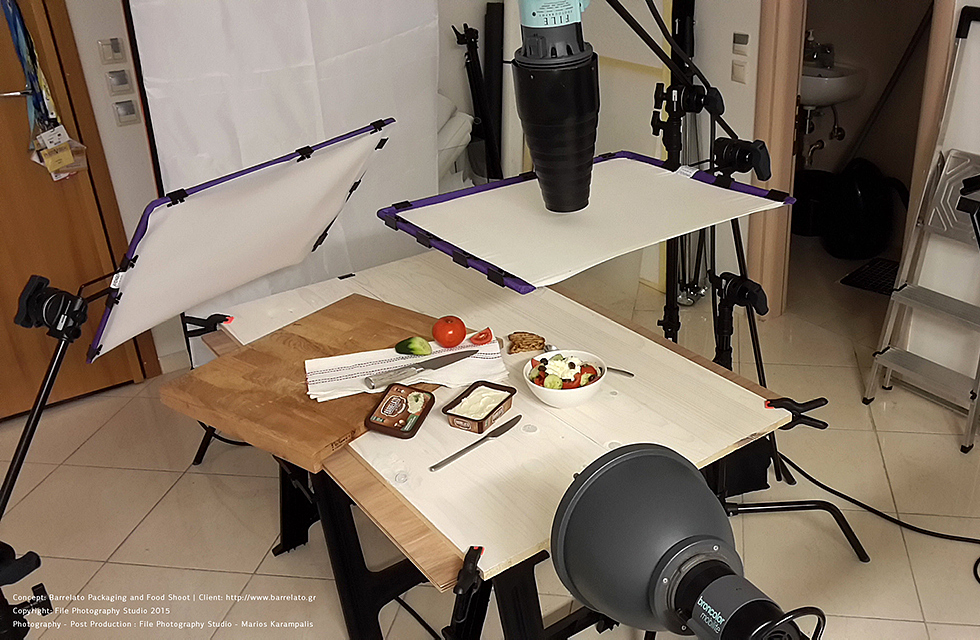
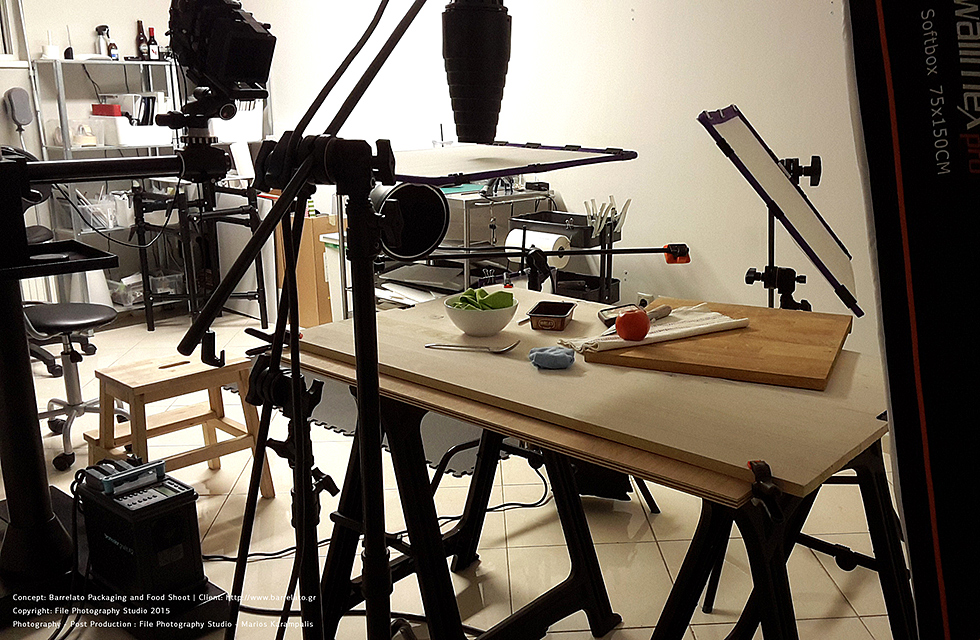
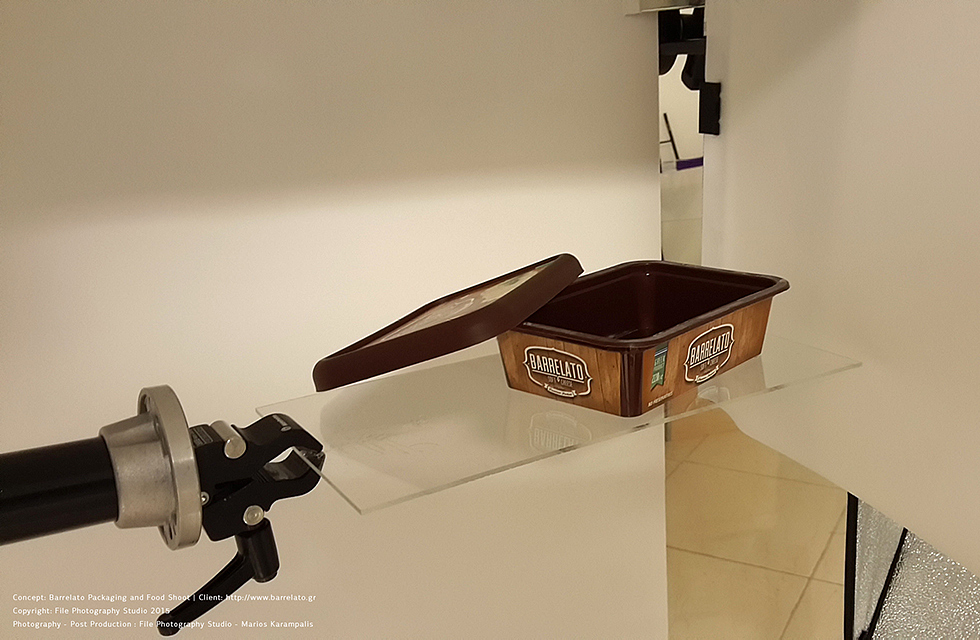

This is a new product from our client Rodi Foods! Is a new soft served cheese from sheep’s milk!
These are some backstage images from the studio setup and lighting.


Our architectural shoot, in the Metropolitan Hospital Advertisement. "2board" the official Athens airport magazine, issue 24.
Our studio has undertaken the project of photographing the complete group of buildings indoor and outdoor for the creation of a new company profile of the Hospital.


In this shoot actually the lighting setup is very simple. First of all i fix a circular piece of clear plexiglass which is 2cm thik and about 6 cm of diameter in my Manfrotto 058B tripod which i am using like a table in this shoot.
Then i placed the watch on the plexiglass and i was ready for the lighting setup. The setup consists of two lights with different light modifier and two different diffusers. On the right, i have set up a standard flag diffuser and a flash with a P70 reflector with a honeycomb grid. On the left, i have place a flash with a strip box and for diffuser i have used in milky plexiglass sheet with 2 mm thickness.
Because i have placed the watch to look at the left side, i wanted the left side lighting softer than the right, that’s why i have used a plaxiglass deffiuser on the left and just a standart flag on the right. The strip box is giving me also more softness than the reflector with the honeycomb grid.
I am shooting slightly down of the planet of the watch, that’s why i have raise the level of the front panel of the lense.
The only problem with the lighting is that i have to pou reflectors above and below of the watch. I solve this problem with the help of a c-stand an some pieces of white matt paper.
In this shoot i also using the tilt shift capabilities of my camera for having all the front of the watch in focus with one frame. Totally i used three frames of the watch, one with the top reflector reflection, on for the dial and one for the rest of the body of the watch.
That’s the final result after the post production and a 50% crop.

In this tutorial we will see together how I used a small bottle of beer along with some acrylic ice cubes, to finally deliver a promotional photo and splash - liquid technique.
From the outset I wanted to create an effect clean and sharpen. I did not want the background to be completely white and that's why I posted as background reflector the plexiglass which would create a gradient from the center to the edges of my frame. The lighting setup is simple in boαth photographing the bottle with ice cubes, and then photographing the bottle itself. At first i used the Background light with a plexiglass and a Strip soft box left of the tank, to give a nice highlight on the entire length of the bottle. In the case of photographing the bottle I used the same Background light and Strip soft box forward and too low to illuminate the logo of the bottle without getting reflections. To place in specific places ice cubes that seem to be half in the water, I used a stick of plexiglass, on the edge of which I stuck ice cubes that i want to use.
The final result came from several individual images which are associated with photoshop to give the final image.